
Hand building is the most ancient and accessible form of pottery, predating the invention of the potter's wheel by thousands of years. This versatile approach to ceramics requires minimal equipment while offering unlimited creative possibilities, making it perfect for beginners and experienced potters alike. Whether you're interested in functional vessels, sculptural work, or decorative pieces, mastering hand building techniques opens a world of ceramic expression. This comprehensive guide explores the fundamental hand building methods, advanced techniques, and practical tips for creating beautiful pottery with just your hands and simple tools.
Why Choose Hand Building?
Before diving into specific techniques, it's worth understanding why hand building remains popular despite the advent of more modern pottery methods.
Accessibility and Minimal Equipment
Hand building requires no expensive equipment. You can start with just clay, a rolling pin, a knife, and a few basic tools. This makes hand building ideal for home studios, classrooms, or anyone wanting to explore pottery without significant financial investment. Unlike wheel throwing, which requires a pottery wheel and dedicated workspace, hand building can happen at your kitchen table.
Creative Freedom and Versatility
Hand building offers unmatched creative freedom. While wheel throwing naturally produces round, symmetrical forms, hand building can create virtually any shape imaginable. Boxes, sculptural figures, architectural forms, organic shapes, and asymmetrical designs are all perfectly suited to hand building approaches. This versatility makes hand building the preferred method for sculptural ceramics and one-of-a-kind art pieces.
Meditative and Contemplative Process
Hand building typically proceeds at a slower, more deliberate pace than wheel throwing. You can set down your work and return to it later, allowing time for consideration and refinement. This contemplative quality appeals to many artists who value the meditative aspects of working with clay. The direct connection between your hands and the clay creates an intimate making experience.
No Learning Curve for Basic Forms
While wheel throwing requires weeks or months to master centering alone, hand building allows you to create successful pieces from your first session. Basic pinch pots and simple coil bowls are achievable immediately, providing instant gratification and building confidence as you develop more advanced skills.
Pinch Pot Technique: The Foundation of Hand Building
Pinch pottery is the most fundamental hand building method, perfect for beginners yet capable of producing sophisticated work in skilled hands.
Basic Pinch Pot Method
Start with a ball of clay roughly the size of a tennis ball or orange. Hold the clay in your non-dominant hand and press your thumb into the center, stopping about half an inch from the bottom. This creates the initial opening.
Now comes the pinching—use your thumb inside and fingers outside to gently squeeze the clay, rotating the ball in your hand as you work. Each pinch should move the clay about a quarter inch, gradually thinning the walls and enlarging the form. Work from the bottom toward the rim in a spiral pattern, maintaining even pressure and consistent wall thickness.
The key is patience and gentle pressure. Pinching too aggressively creates uneven walls and can crack the clay. Instead, use many small, gentle pinches, gradually coaxing the clay into shape over multiple rotations around the form.
Advanced Pinch Pot Techniques
Once you master basic pinch pots, several advanced techniques expand possibilities:
Joining pinch pots: Create two pinch pots of similar size, score and slip their rims, then join them to create hollow spheres or egg shapes. These joined forms become the foundation for sculptural work, vessels with enclosed spaces, or decorative objects.
Altering pinch pots: While clay is still soft, gently reshape pinch pots into ovals, squares, or organic forms. Press textures into surfaces, add coils for decoration, or carve patterns. The malleable nature of fresh pinch pots allows creative alteration.
Building larger forms: Create large vessels by pinching progressively, allowing clay to firm up slightly between sessions. Some potters create forms two feet tall or more using refined pinching techniques, adding clay gradually and working in stages.
Tools for Pinch Pottery
While fingers are the primary tools, several implements enhance pinch pot work:
- Wooden ribs: Smooth interior and exterior surfaces
- Sponges: Even out irregularities and add moisture as needed
- Texture tools: Create surface decoration
- Cutting tools: Refine rims and create clean edges
Coil Building: Ancient Technique for Vessels and Sculpture
Coil building involves stacking rope-like coils of clay to build up walls, offering excellent control over form and size.
Creating and Preparing Coils
Roll clay into coils by placing a rope of clay on your work surface and rolling it back and forth under your palms. Apply even pressure and work from the center outward to create uniform thickness. Coils typically range from half an inch to an inch in diameter, depending on your project scale.
For consistent coils, some potters use extruders—tools that force clay through a die to create perfectly uniform coils. However, hand-rolled coils work beautifully and many potters prefer the organic quality they provide.
Keep coils covered with plastic when not in use to prevent drying. Coils should be soft and pliable when attached—leather-hard coils won't bond properly.
Building with Coils
Creating the base: Start with either a flat slab base or a coiled base. For a slab base, roll out flat clay and cut the desired bottom shape. Score the edge where coils will attach.
Attaching coils: Score both the base edge and the first coil, apply slip (clay mixed with water to a creamy consistency), then press the coil onto the base. Continue adding coils, scoring and slipping each joint. As you build upward, angle coils slightly inward or outward to control the form's profile.
Blending coils: You have two aesthetic choices—leave coils visible for textured, decorative effect, or smooth them together for seamless surfaces. To blend, use your fingers, a wooden tool, or a rib to work clay from one coil into the next, both inside and outside the vessel. This blending strengthens joints and creates smooth walls.
Supporting the form: Large coil-built pieces may need internal support during construction. Crumpled newspaper, foam, or wadded clay can support walls as you build. Remove supports once clay reaches leather-hard stage.
Coil Building Tips for Success
Work in stages: Don't build too quickly or the weight of upper coils will compress lower ones, deforming your piece. Allow the bottom to firm up slightly before adding more height. For very tall pieces, work in multiple sessions, covering your work between sessions.
Maintain even thickness: Check wall thickness regularly by feel or by cutting a small test section. Consistent thickness prevents cracking during drying and firing.
Control moisture: Keep coils at similar moisture levels. If the base becomes leather-hard while new coils are soft, the moisture mismatch can cause cracking. Mist leather-hard areas lightly with water before adding fresh coils.
Score thoroughly: Proper scoring creates mechanical grip between coils. Use a serrated rib, fork, or needle tool to create deep crosshatch marks on all joining surfaces.
Slab Building: Geometry and Architecture in Clay
Slab construction uses flat sheets of clay to build forms, excelling at geometric shapes and architectural designs.
Rolling and Preparing Slabs
Place clay between two guide sticks of equal thickness (often called slat rollers) to ensure even slab thickness. Roll with a rolling pin or slab roller, working from the center outward. Aim for quarter-inch to half-inch thickness for most projects—thinner for delicate work, thicker for structural pieces.
Canvas or fabric surface: Roll slabs on canvas or burlap to prevent sticking and create interesting texture on one side. Peel the fabric away carefully after rolling.
Preventing warping: After rolling, allow slabs to firm up to leather-hard before cutting and assembling. This prevents warping and makes handling easier. Cover slabs with plastic to slow drying and prevent cracking.
Working at Different Clay States
Slab building offers unique flexibility because you can work with clay at various moisture levels:
Soft slab construction: Very fresh, pliable slabs can be draped over or into molds, creating organic, flowing forms. Bowls, platters, and vessels with curved walls work beautifully with soft slabs.
Leather-hard slab construction: Firmer slabs are perfect for geometric forms, boxes, and architectural pieces. The clay maintains crisp edges and clean lines while still being workable enough to score, slip, and join.
Combination approach: Some projects benefit from combining soft and leather-hard slabs, using soft slabs for curved elements and leather-hard for structural, flat sections.
Joining Slab Edges
Proper joining technique is crucial for strong, crack-free slab work.
Score and slip method: Score both edges to be joined with deep crosshatch marks, apply generous slip, then press firmly together. The slip acts as glue while scoring provides mechanical grip.
Compress joints: After joining, run your finger or a tool along both sides of the seam, pressing clay together and working one slab's clay into the other. This creates a strong bond and smooths the joint.
Reinforcing with coils: For extra strength, add a small coil of clay along interior joints, then blend it into both walls. This reinforcement is invisible from outside but significantly strengthens the join.
Slab Building Projects and Forms
Boxes and containers: Cut slabs to create base, four walls, and optionally a lid. Precise measuring and clean cuts create professional-looking boxes.
Cylindrical forms: Wrap a slab around a cylindrical form, join the seam, then add a bottom. Remove the support once clay firms slightly.
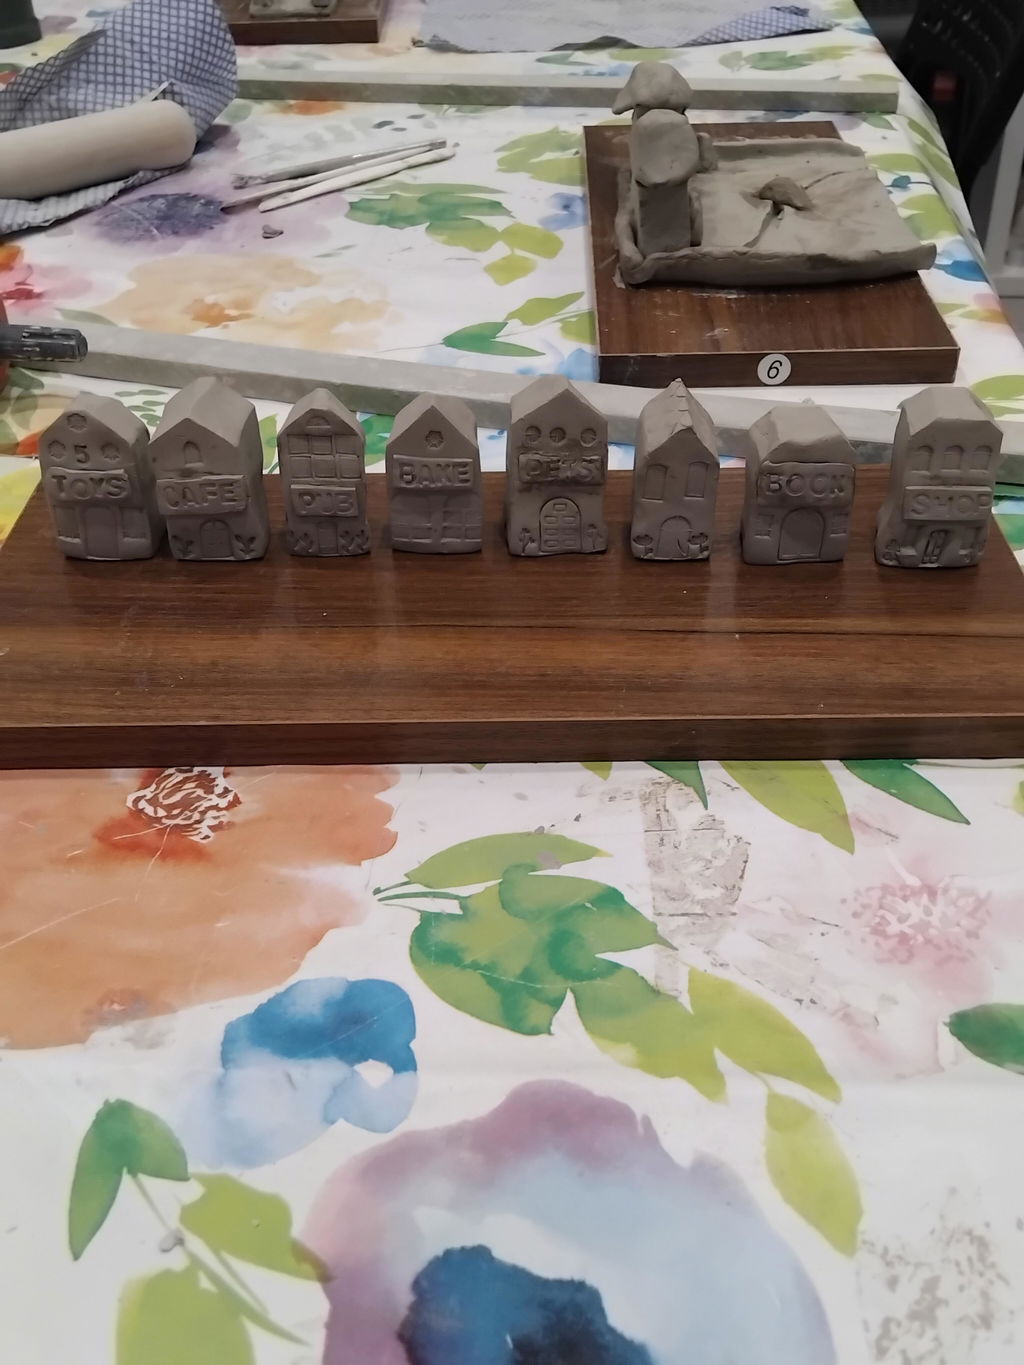
Sculptural slabs: Cut slabs into irregular shapes and join at angles to create architectural sculptures, abstract forms, or geometric art pieces.
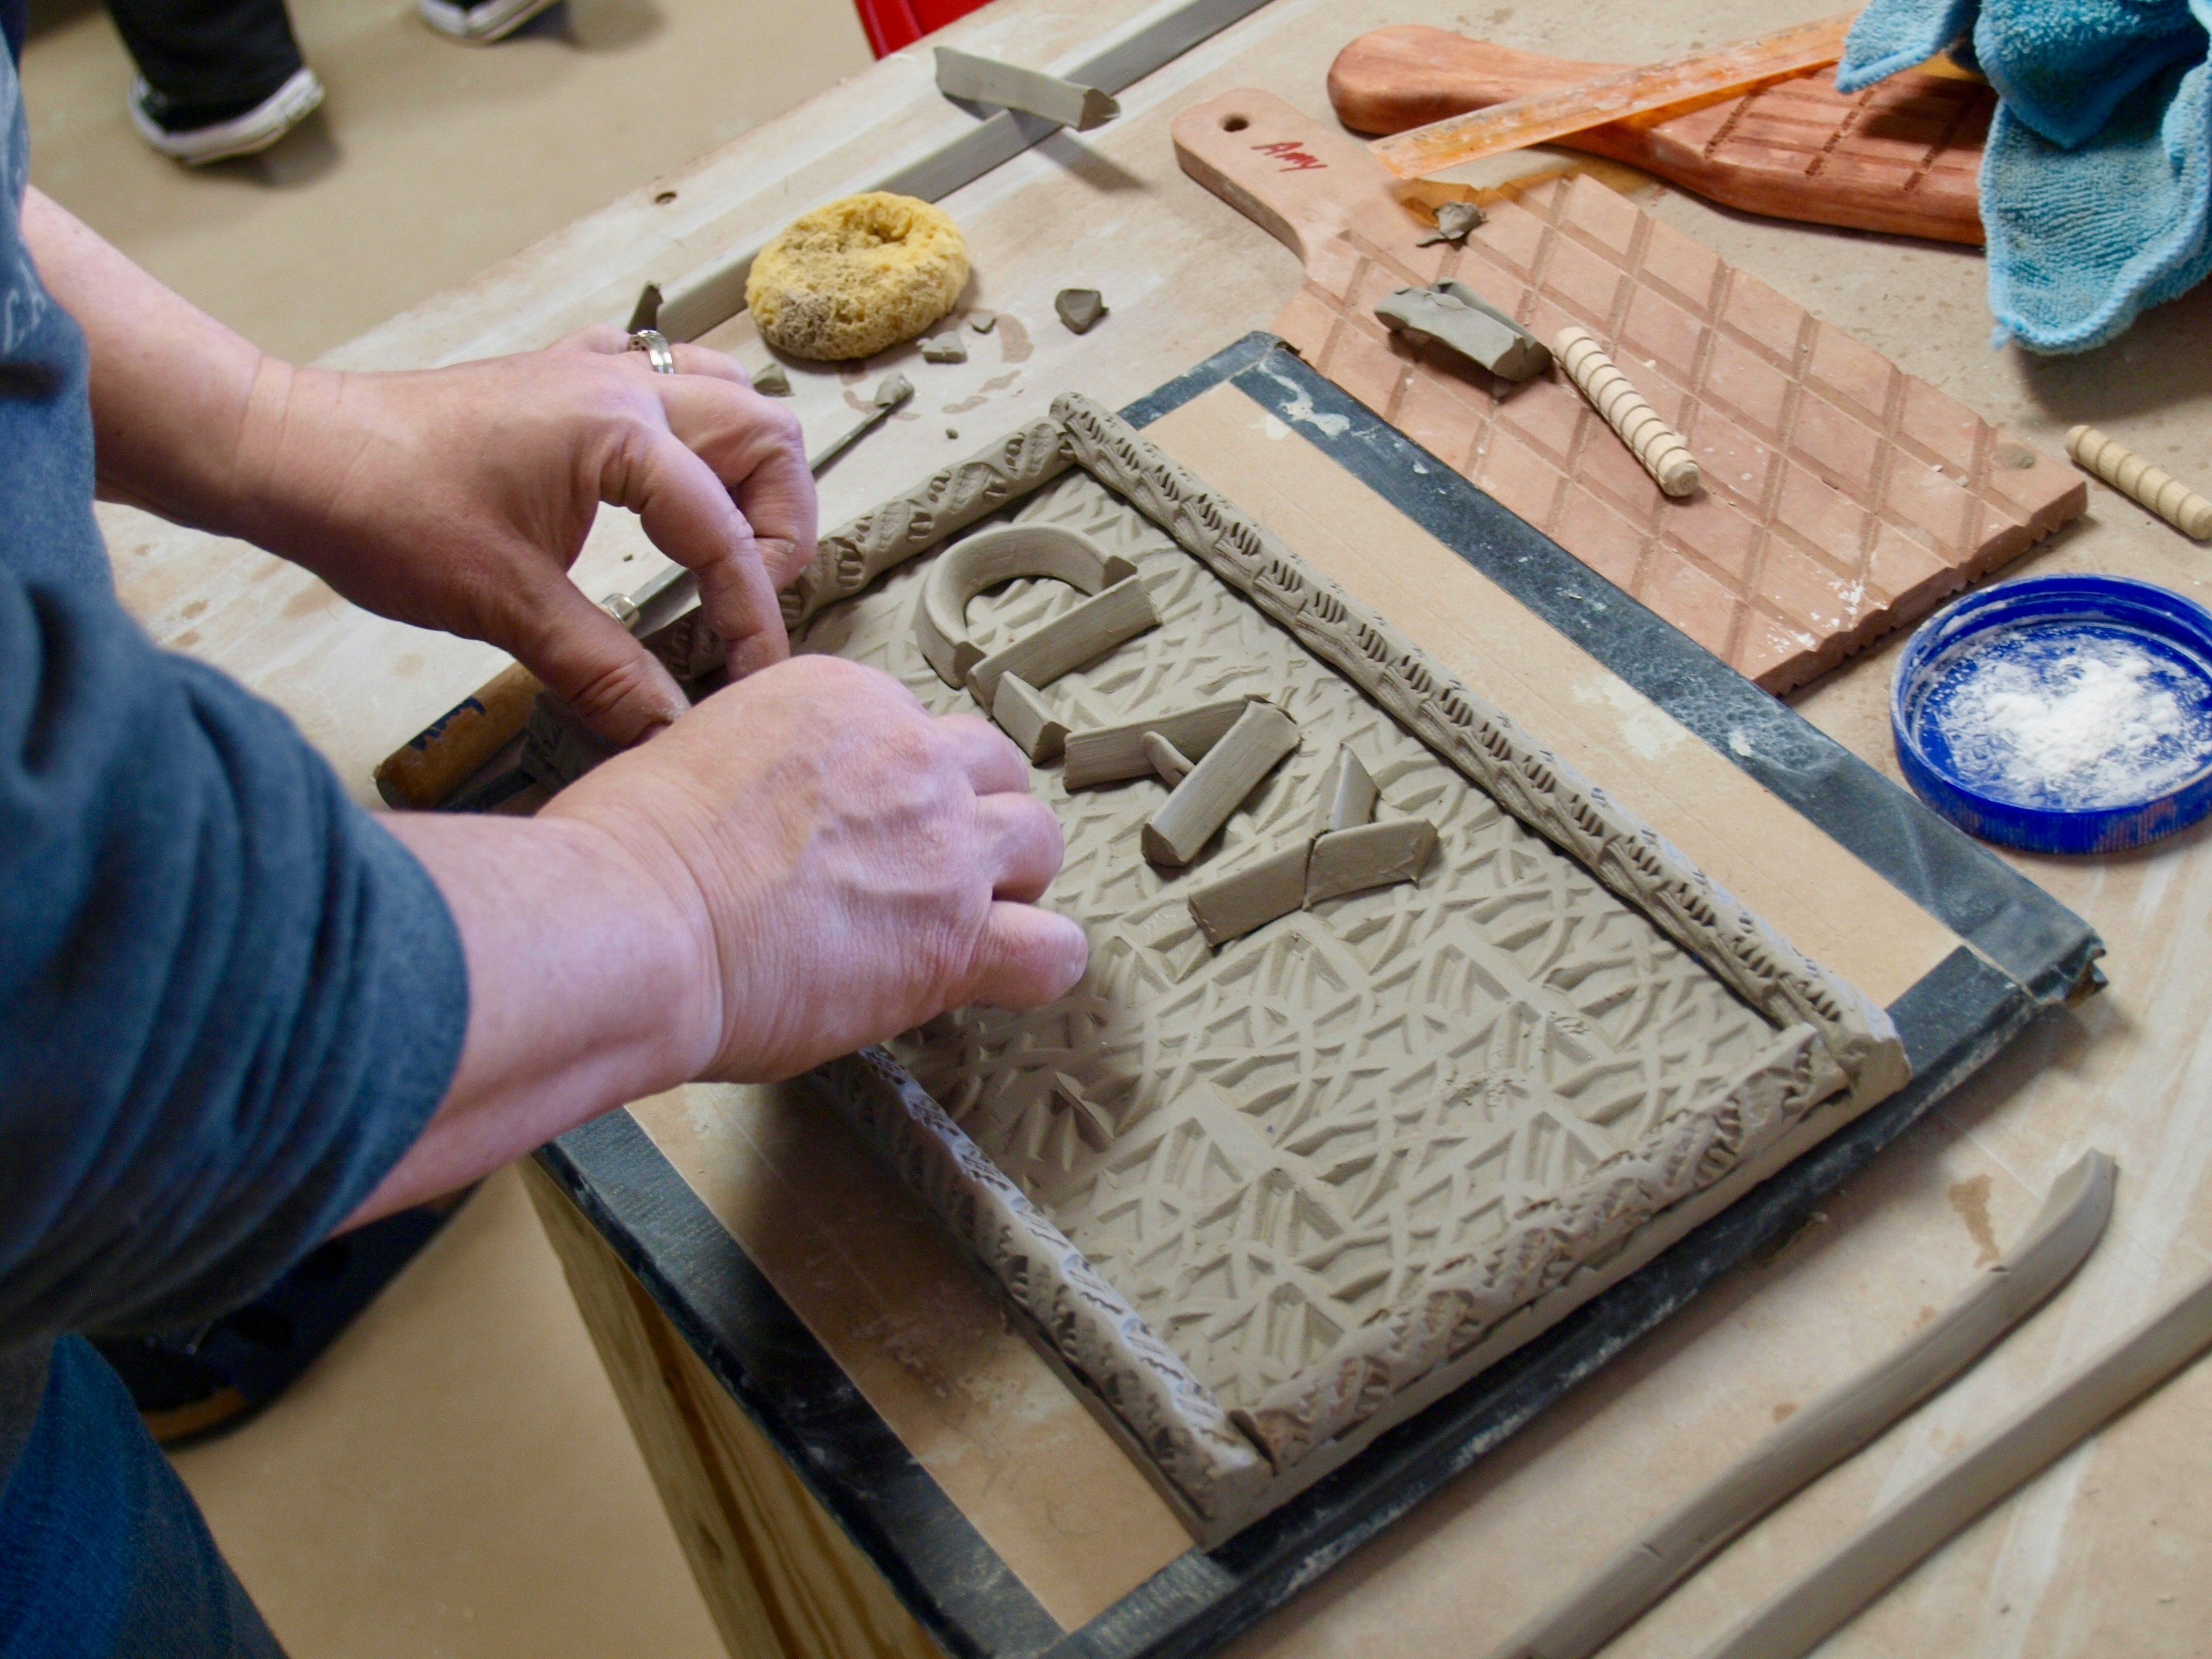
Tiles: Roll flat slabs, cut to size, and texture or decorate for wall tiles, trivets, or decorative panels.
Hump and Slump Molds: Draping Clay Over Forms
Molds provide support for creating consistent forms and shapes difficult to achieve freehand.
Hump Molds
Hump molds are convex forms over which you drape soft slabs. The clay takes the mold's shape and dries supported by the form. Common hump molds include plaster forms, bisque-fired clay shapes, or even found objects like bowls turned upside-down.
Drape a soft slab over the mold, smooth it gently, and trim excess clay from the edges. Allow the piece to firm up slightly before removing from the mold—clay shrinks as it dries and will naturally release.
Slump Molds
Slump molds are concave forms into which you press soft slabs. The clay conforms to the interior shape of the mold. Line the mold with fabric or newspaper to prevent sticking and help with release.
Gently press the slab into the mold, working out air pockets and ensuring good contact with the mold surface. Trim the rim while clay is still soft for clean edges.
Making Your Own Molds
Create custom molds from plaster by casting over found objects or sculpted forms. Plaster absorbs moisture from clay, helping with drying and release. Alternatively, use bisque-fired clay forms as molds—they're durable and work well for repeated use.
Combining Techniques for Complex Forms
Professional hand builders rarely limit themselves to a single technique, instead combining methods to achieve their creative vision.
Hybrid Approaches
A vessel might have a coil-built body with slab-built feet and pinched decorative elements. Sculptural work might combine all three techniques—slab for architectural elements, coils for organic sections, and pinching for fine details.
Pinched handles on slab boxes: Create functional boxes using slab construction, then add pinched or pulled handles for visual interest and utility.
Coiled spouts on pinch pot teapots: Build the body with pinching technique, then attach a coiled spout and slab-built lid for a complete functional teapot.
Textured slab surfaces on coiled vessels: Build a vessel with coiling for structure, then apply textured slab elements to the surface for decoration.
Essential Hand Building Tools
While hand building requires minimal equipment, certain tools make the work easier and more refined.
Basic Tool Kit
- Rolling pin or slab roller: For creating even slabs
- Canvas or burlap: Work surface that prevents sticking
- Wooden or metal ribs: Smoothing and shaping
- Needle tool: Trimming, scoring, and checking thickness
- Wire tools: Cutting and trimming
- Sponges: Smoothing and moisture control
- Fettling knife: Cutting and trimming clay
- Scoring tools: Creating texture for joining (forks, serrated ribs, or wire brushes work well)
Surface Treatment Tools
- Stamps and texture tools: Create surface decoration
- Carving tools: Cut designs into leather-hard clay
- Slip trailing tools: Apply decorative slip
- Brushes: For applying slip, underglaze, or water
Preventing Common Hand Building Problems
Understanding potential problems helps you avoid them and troubleshoot when they occur.
Cracking at Joints
Cracks appearing where elements join indicate inadequate scoring and slipping or moisture mismatch. Prevent by scoring thoroughly, applying generous slip, and ensuring all components are at similar moisture levels before joining.
Warping During Drying
Uneven thickness, too-rapid drying, or structural issues cause warping. Maintain consistent wall thickness, dry pieces slowly under plastic, and use porous drying surfaces that allow even moisture release.
Sagging or Collapsing Forms
Building too quickly with soft clay causes sagging. Allow pieces to firm up between construction stages, use supports for large work, and work at appropriate clay consistency for your form—leather-hard for structural work, soft for organic shapes.
S-Cracks on Bases
Bottom cracks result from bases that are too thick or too compressed. Keep bases at similar thickness to walls, avoid compressing bases excessively, and place work on porous surfaces during drying.
Surface Decoration Techniques for Hand Building
Hand-built work offers excellent opportunities for surface decoration.
Texture and Pattern
Apply texture while clay is soft using found objects, commercial texture tools, or handmade stamps. Fabrics, lace, leaves, and textured surfaces create beautiful impressions. Carve designs into leather-hard clay using loop tools or knives.
Slip Decoration
Apply colored slips (liquid clay with added colorants) to leather-hard or bone-dry greenware. Slip trailing, where slip is applied through a squeeze bottle, creates raised linear decoration. Sgraffito involves scratching through dried slip layers to reveal contrasting clay colors beneath.
Attachments and Appliqué
Add clay embellishments to surfaces—small coils arranged in patterns, pressed or stamped clay shapes, or sculpted elements. Score both the base surface and the attachment, apply slip, and press firmly.
Drying and Finishing Hand-Built Work
Hand-built pieces require careful drying to prevent cracking and warping.
Controlled Drying
Cover work loosely with plastic, allowing very slow, even drying. Check pieces daily, rotating them if necessary to ensure all sides dry at similar rates. Large, complex pieces may need a week or more to dry completely.
For pieces with varying thickness, deliberately slow the drying of thin areas while allowing thick sections to dry. Wrap thin rims or projecting elements with damp paper towels covered with plastic.
Refining Before Firing
Once leather-hard, refine surfaces by scraping with metal ribs or flexible steel scrapers. Smooth any rough spots with fine sandpaper or sanding sponges. Clean up finger marks, tool marks, or irregularities unless you're preserving them as part of the piece's character.
Conclusion: The Versatility of Hand Building
Hand building techniques offer lifetime learning opportunities. From simple pinch pots to complex architectural sculptures, these methods adapt to any creative vision. The immediate accessibility makes hand building perfect for beginners, while the unlimited possibilities keep experienced artists engaged for decades.
Whether you're creating functional pottery, sculptural art, or exploring ceramics as meditation and self-expression, hand building provides direct connection between your creative vision and the finished work. Start with simple forms, practice fundamental techniques, and gradually expand your skills. Each piece teaches you more about clay's behavior, structural principles, and your own creative voice.
The beauty of hand building is that you can start today with minimal investment, yet continue discovering new techniques, approaches, and artistic directions throughout your entire pottery journey. Your hands are your primary tools, and clay is endlessly forgiving, inviting experimentation and rewarding patience with beautiful, unique ceramic work that bears the unmistakable mark of human touch.

Share:
Pottery Firing Temperatures Explained: A Complete Guide to Cones, Heat, and Clay Maturation
How to Attach Pottery Handles: A Complete Guide to Strong, Beautiful Attachments