
Stepping into the world of pottery is an exciting journey, but choosing the right clay can feel daunting when you're just starting out. The type of pottery clay you select will significantly impact your learning experience, the techniques you can master, and the types of pieces you can create. This comprehensive guide will help you understand the different types of pottery clay and choose the best option for your skill level and goals.
Understanding Pottery Clay Basics
Pottery clay, also known as ceramic clay, is a natural material that becomes permanently hard when fired in a kiln at high temperatures. Unlike air-dry or polymer clays, traditional pottery clay undergoes a chemical transformation during firing that makes it durable, often waterproof, and suitable for functional pieces like dishes, mugs, and vases.
The three main types of pottery clay are earthenware, stoneware, and porcelain. Each is classified by its firing temperature range, measured in "cones" (a standardized system for measuring heat work in kilns), and each has distinct characteristics that make it more or less suitable for beginners.
Earthenware Clay: The Best Starting Point for Most Beginners
Earthenware is the oldest and most common type of pottery clay, and for good reason—it's the most forgiving option for beginners. This clay fires at the lowest temperature range (cone 06-04, or approximately 1828-1945°F/998-1063°C), which means it's more economical to fire and puts less stress on kiln elements.
Why Earthenware is Ideal for Beginners
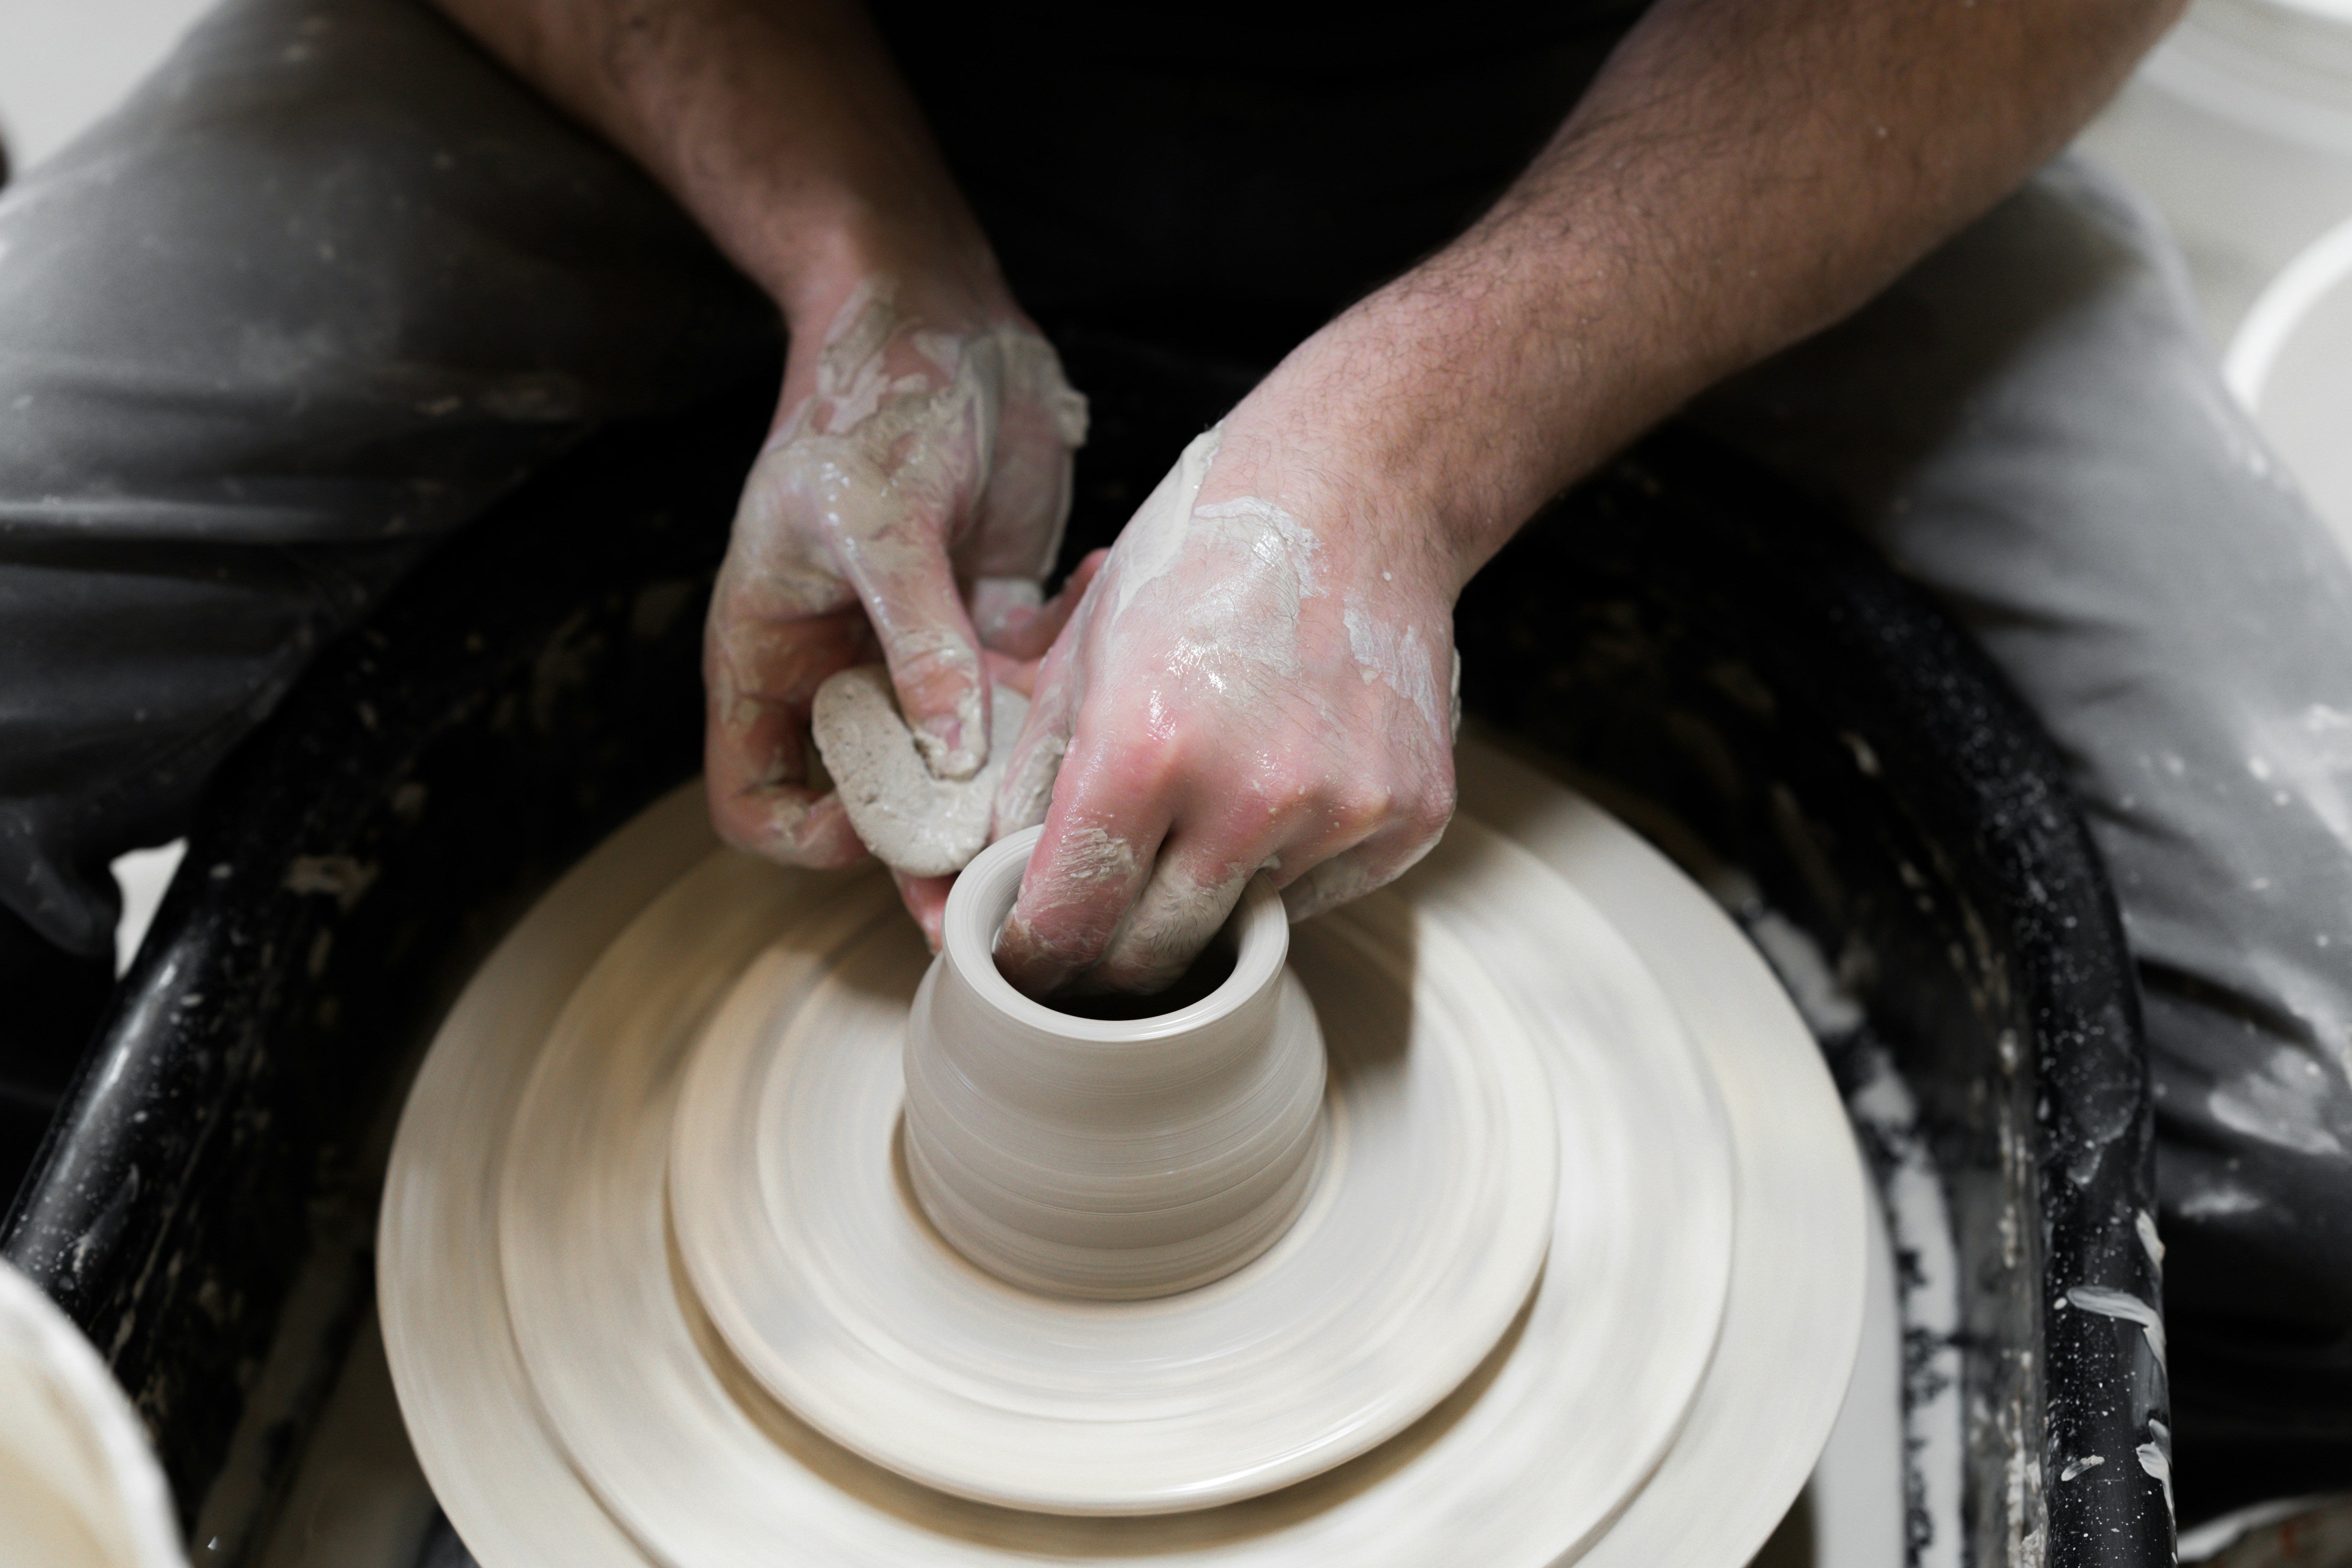
Earthenware clay has several properties that make it perfect for learning. It's highly plastic, meaning it's easy to shape and manipulate without cracking. The clay has excellent "memory," allowing you to push, pull, and reshape it while maintaining structural integrity. This forgiveness is crucial when you're learning to center clay on the wheel or master hand-building techniques.
The lower firing temperature also means your pieces are less likely to warp or crack during firing—a common frustration for beginners. When mistakes do happen, they're less costly since you haven't invested in expensive high-fire glazes or lengthy firing times.
Earthenware typically comes in red, terracotta, or buff (tan) colors, though white earthenware is also available. The warm, earthy colors are beautiful on their own, and the clay body shows through glazes nicely, adding character to your finished pieces.
Working Characteristics of Earthenware
When working with earthenware, you'll notice it has a smooth, responsive feel. It's excellent for wheel throwing because it centers easily and responds well to the pressure of your hands. For hand-building, earthenware maintains its shape during construction and can be scored and slipped together reliably for attaching handles, spouts, or decorative elements.
One important consideration is that earthenware remains porous even after firing, meaning it will absorb water unless fully glazed. This makes it essential to glaze the interior of any functional pieces like cups or bowls. However, this porosity also makes earthenware more breathable, which is why it's traditionally used for flower pots and water storage vessels in hot climates.
Stoneware Clay: The Next Step in Your Pottery Journey
Stoneware represents the middle ground between earthenware and porcelain, both in firing temperature and difficulty. It fires at cone 5-10 (approximately 2167-2381°F/1186-1305°C) and becomes vitrified (glass-like) during firing, making it completely waterproof and extremely durable.
Is Stoneware Right for Beginners?
While earthenware is generally recommended for absolute beginners, many pottery students successfully start with stoneware, especially if they're learning in a studio that primarily uses mid-range or high-fire clays. Stoneware is slightly less plastic than earthenware, meaning it has more "tooth" or grog (fired clay particles added to the clay body), which can actually be helpful for beginners learning to control their pieces.
The main advantage of stoneware for beginners is that once you master it, you can create truly functional pieces. Stoneware dishes are generally microwave and dishwasher safe, won't absorb odors or bacteria, and can withstand thermal shock better than earthenware. If your goal is to make functional pottery for everyday use, starting with stoneware might make sense despite the slightly steeper learning curve.
Working with Stoneware
If your stoneware has grog, then it has a slightly rougher texture than earthenware, which helps it maintain its shape during construction. This makes it excellent for building larger pieces that might slump in a softer clay. On the wheel, stoneware requires more pressure and water than earthenware, but it holds its shape well during throwing and trimming.
The clay comes in various colors depending on its iron content and other minerals—from light gray and buff to darker browns and speckled varieties. These natural colors can create beautiful effects, especially when using semi-transparent or breaking glazes that allow the clay body to show through.
One challenge for beginners is that stoneware is less forgiving of drying and firing issues. It's more prone to cracking if dried unevenly or fired too quickly, so you'll need to be more mindful of proper drying techniques and kiln schedules.
Porcelain: The Advanced Option
Porcelain is the finest and most refined pottery clay, firing at the highest temperatures (cone 8-10, approximately 2280-2381°F/1249-1305°C) and creating translucent, glass-like ceramics. While it's stunning to work with and creates exquisite finished pieces, porcelain is generally not recommended for absolute beginners.
Why Porcelain is Challenging
Porcelain has very low plasticity, meaning it's "short" or non-stretchy. On the wheel, it can be slippery and difficult to control, collapsing suddenly if you use too much pressure or water. For hand-building, it requires more careful technique to prevent cracking during construction and drying.
The clay is also unforgiving during firing, with a narrow temperature range where it's properly vitrified without over-firing. It warps easily, especially in larger pieces, and shows every imperfection in your throwing or building technique.
However, for beginners who are patient and willing to work through the learning curve, porcelain offers unmatched beauty. Its pure white color creates a perfect canvas for glazes, and its translucency when thrown thinly is simply magical.
If you're set on working with porcelain as a beginner, choose a "beginner-friendly" porcelain that contains some added plasticizers. These formulations are easier to throw and build with while still providing the beauty of porcelain.
Choosing Based on Your Pottery Goals
Your choice of clay should align with what you want to create and how you want to work.
For Wheel Throwing Beginners
If you're learning to throw on the potter's wheel, start with a smooth, plastic clay without much grog. They center easily, respond well to subtle pressure changes, and forgive minor mistakes. Avoid heavily grogged clays when learning to throw, as they can be rough on your hands and make it difficult to feel what's happening with your clay.
For Hand-Building Enthusiasts
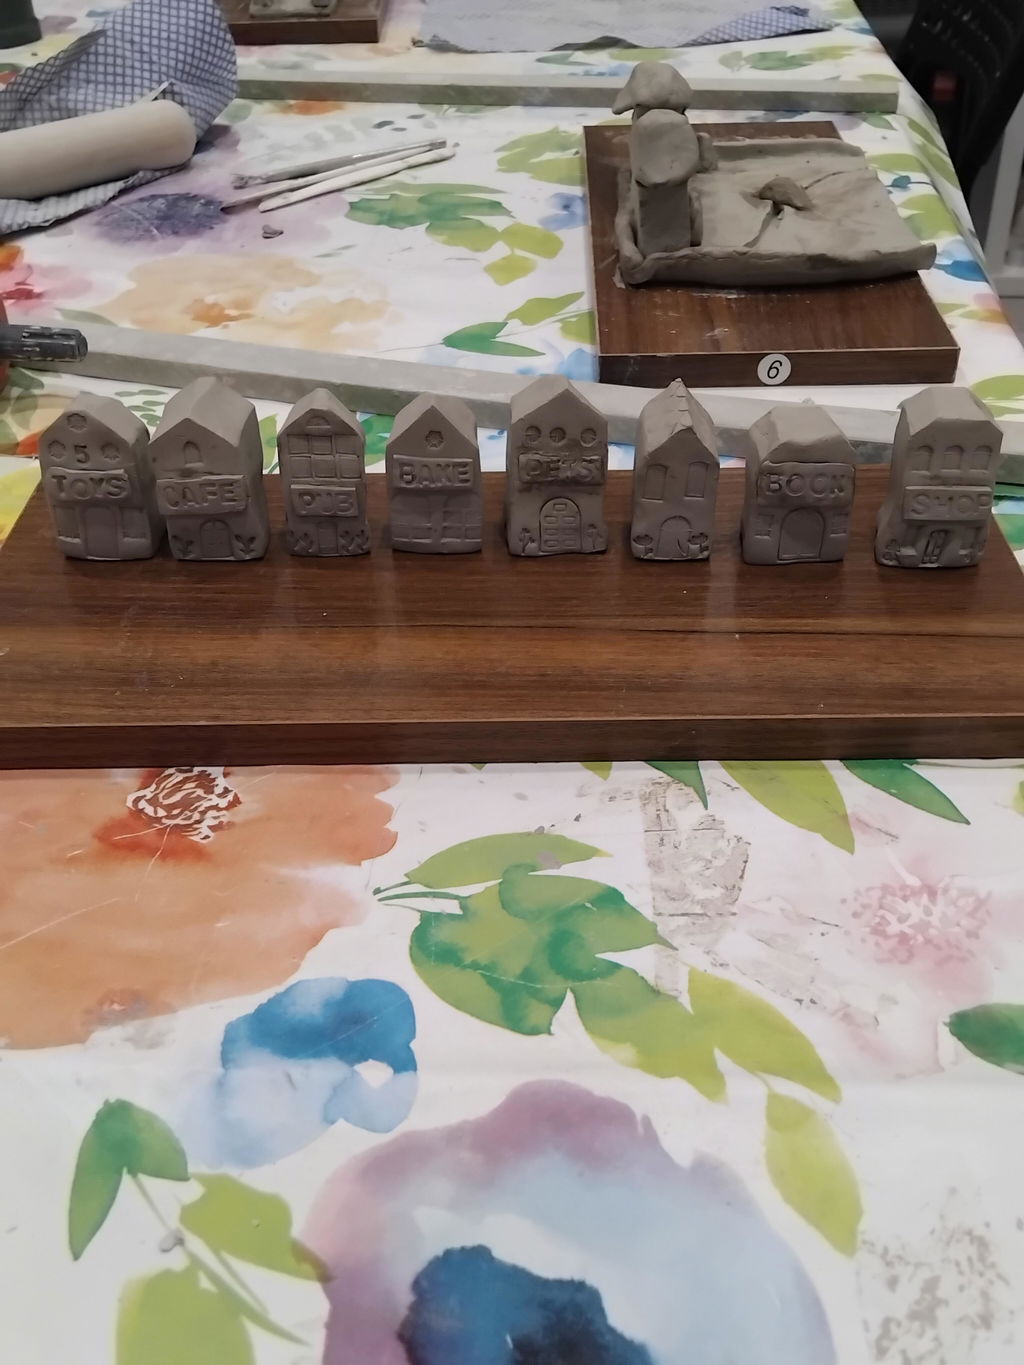
Hand-builders can work with slightly groggier clays since you don't need the same smoothness required for wheel work. The grog provides good structural support for slab building, coiling, or sculptural work and helps prevent warping and cracking in larger pieces.
For Functional Pottery
If your goal is to make dishes, mugs, and bowls for daily use, stoneware is your best bet. It becomes fully vitrified (waterproof) when fired and can withstand the thermal shock of microwave and dishwasher use. Start with a mid-fire stoneware, which matures at cone 5-6, making it more economical to fire than high-fire clays.
For Decorative and Sculptural Work
Earthenware is perfect for decorative pieces, allowing you to focus on form and surface decoration without worrying about the structural demands of functional pottery. The lower firing temperature also gives you access to a wider range of glaze colors, as many vibrant glazes can only be used at earthenware temperatures.
Understanding Clay Body Components
When selecting pottery clay, you'll encounter terms describing what's in the clay body. Understanding these components helps you choose the right clay for your needs.
Grog and Particle Size
Grog is fired clay that's been ground up and added back into plastic clay. It reduces shrinkage, adds structural strength, and helps prevent warping. Fine grog creates a slightly textured feel, while coarse grog gives the clay a sandy texture. Beginners often prefer smooth clays with fine or no grog for wheel work, while hand-builders appreciate the structural support of grogged clay.
Plasticity and Workability
Plasticity refers to how easily clay can be shaped without cracking. Highly plastic clays are stretchy and forgiving, making them ideal for beginners. Clays with lower plasticity are "short" or crumbly, requiring more skill to work with. Ball clay and bentonite are often added to clay bodies to increase plasticity.
Firing Temperature Range
Every clay body has an optimal firing range where it matures properly. Firing below this range leaves clay porous and weak; firing above it can cause bloating, warping, or even melting. As a beginner, choose a clay with a wide firing range, which provides more margin for error with your kiln programming.
Practical Considerations for Beginners
Beyond the clay type itself, several practical factors should influence your decision.
Kiln Access and Type
Your access to a kiln largely determines which clay you can use. If you're taking classes at a community studio, use whatever clay they recommend, as it will be formulated to work with their kilns and firing schedules. If you're firing at home, consider that low-fire earthenware is more economical and causes less wear on your kiln elements.
Electric kilns are perfect for any firing range, while small test kilns may limit you to low-fire clays. If you have access to gas or wood-firing kilns, stoneware and porcelain will give you the best results, taking advantage of the unique atmospheric effects these kilns can create.
Budget Considerations
Clay costs vary significantly by type and brand. Earthenware is generally the most affordable, followed by stoneware, with porcelain being the most expensive. As a beginner, you'll go through a lot of clay while learning, so budget is a real consideration. A 25-pound bag of earthenware might cost £12-15 ($15-20 USD), while the same amount of premium porcelain could cost £22-38 ($30-50 USD) or more.
Remember to factor in glazing and firing costs as well. Low-fire earthenware uses less expensive glazes and costs less to fire, while high-fire stoneware and porcelain require more expensive materials and longer, hotter firings.
Storage and Workspace
Pottery clay must be kept moist when not in use, typically stored in sealed plastic bags inside buckets. Consider how much storage space you have and whether you can keep clay at the proper consistency. Beginners often start with 5-10 KG (12.5-25 pound) bags, which is enough for multiple projects without taking up too much space or drying out before you can use it.
Tips for Working with Your First Clay
Once you've chosen your clay, these tips will help you get the most out of your material.
Conditioning Your Clay
Before using clay, especially if it's been sitting for a while, wedge it thoroughly. Wedging removes air bubbles, evens out moisture content, and aligns the clay particles, making it more workable and less likely to crack. Learn proper wedging technique early, as it's fundamental to successful pottery.
Keep It Consistent
Stick with one type of clay while you're learning the basics. Switching between different clays can be confusing, as each has unique characteristics. Once you're comfortable with your first clay, then experiment with others to find your favourite.
Reclaim Your Scraps
Clay is infinitely reusable before firing. Save all your scraps in a bucket with water to create slip (liquid clay) or let them dry, then rehydrate and wedge them back to plastic consistency. This reduces waste and saves money as you practice.
Learn Proper Drying Techniques
Regardless of which clay you choose, proper drying is crucial to prevent cracking. Dry pieces slowly and evenly, covering them loosely with plastic to slow the drying process. Thicker areas need more time to dry than thin areas, so plan accordingly.
Making Your Final Decision
For absolute beginners just starting their pottery journey, earthenware clay offers the most forgiving learning experience. It's affordable, easy to work with, and allows you to focus on learning fundamental techniques without fighting against difficult clay.
If you're starting in a studio setting where the instructor uses stoneware, trust their recommendation and start with their house clay. The advantage of learning in a studio is that you'll have guidance specific to that clay body.
Remember that clay choice isn't permanent. As you progress, you'll naturally want to experiment with different clay bodies to find what works best for your style, techniques, and creative goals. The most important thing is to start with something appropriate for your skill level and give yourself permission to learn, make mistakes, and grow as a potter.
The journey of working with pottery clay is deeply rewarding, connecting you to thousands of years of ceramic tradition. With the right clay in your hands and patience with the learning process, you'll soon be creating beautiful, functional pieces that bring joy to your life and others. Start with confidence, stay curious, and enjoy every moment of working with this timeless, transformative material.

Share:
Don't Have a Kiln? No Problem! Here's How to Rent One